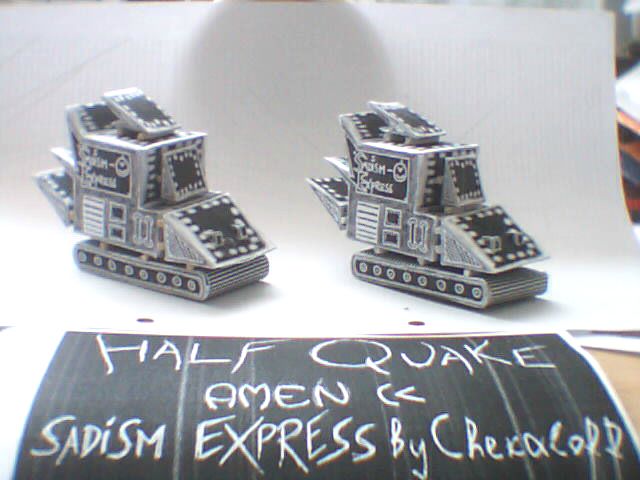
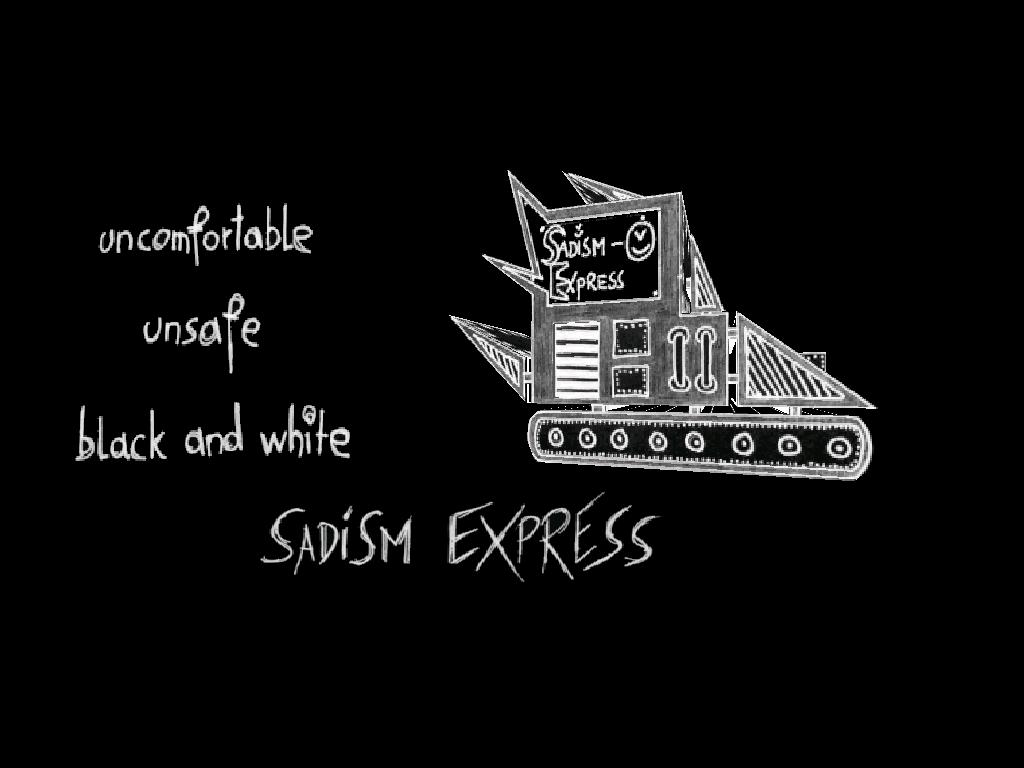
How to create your own Sadism Express from Half-Quake Amen.
Illustrated guide for dummies and other victims.
You'll need:
- Scissors
- Knife
( Stop playing with knife and continue reading! )
- PVA Glue
- Matches
(Yes, yes, the ESC button burns, now what?)
- Printer (color or not - doesn't matter) and paper for it
- Hands and a little bit of brain
- Sadistic face
Step 1. Printing.
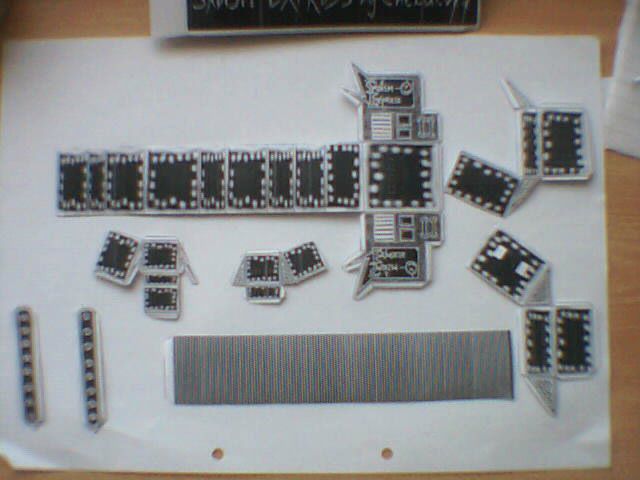
So, let the fun begin. The first thing you need to do - download and print this draft:

The best paper for printing is an A4 format paper, but, if it's hard for you to make a small model, you can print it on A3 (but you'll have some additional troubles later on in this case).
Step 2. Cutting
This step is quite simple. Just carefully cut out all the parts.
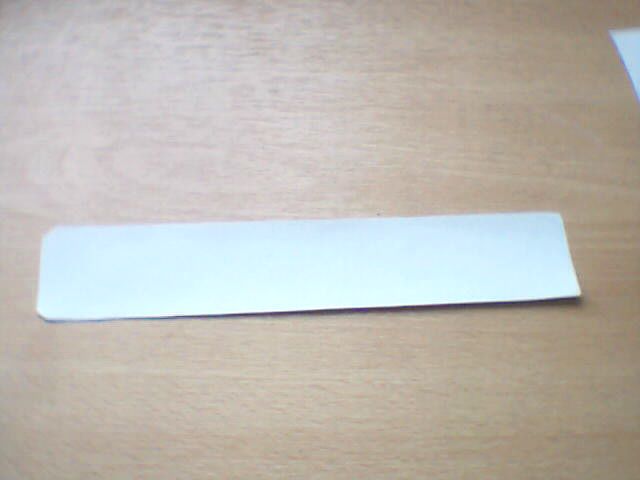
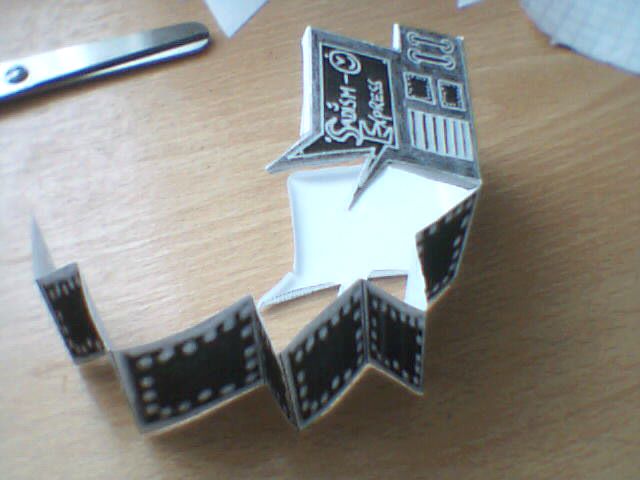
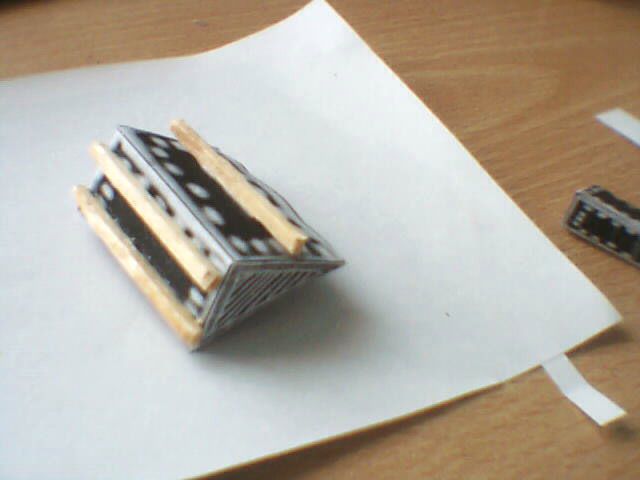
Step 3. Part 1 - Chain Track
You'll need parts 1a, 1b and 1c in this step.
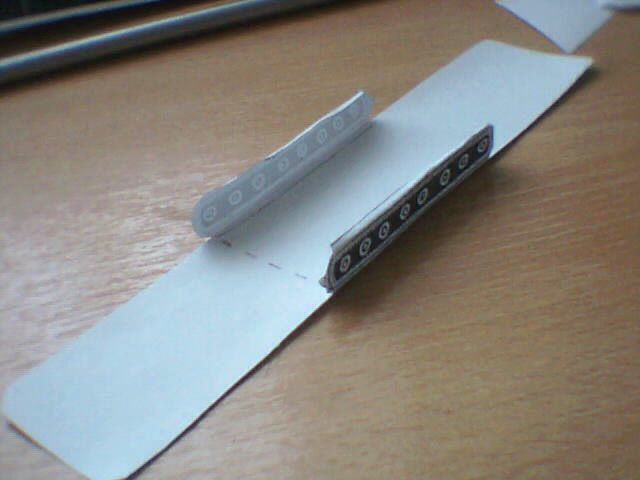
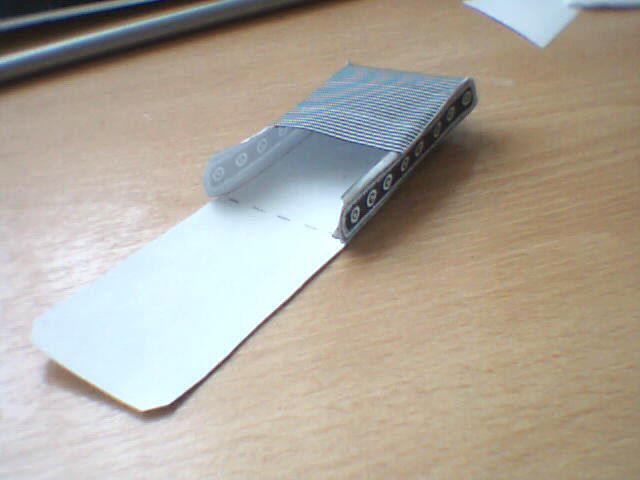
Place part 1c on the table like shown:
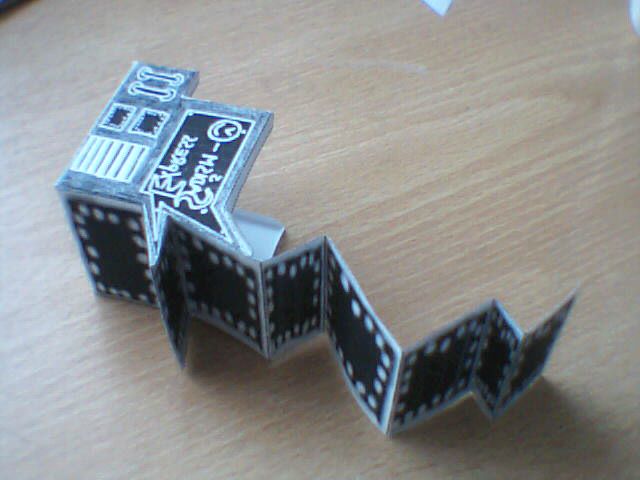
Glue parts 1a and 1b on its sides. Attention, they must be glued right in front of each other. For better precision, after glueing one I drew a line across part 1c, so I knew exactly where I should glue the second side part. You'd better do the same.
And remember - this line MUSTN'T show your creativity or anything else - it must be right PERPENDECULAR to the side of part 1c.
Part 1c is a bit longer then you'll need, so cut a bit. Then wrap part 1c around glued parts and glue it too.
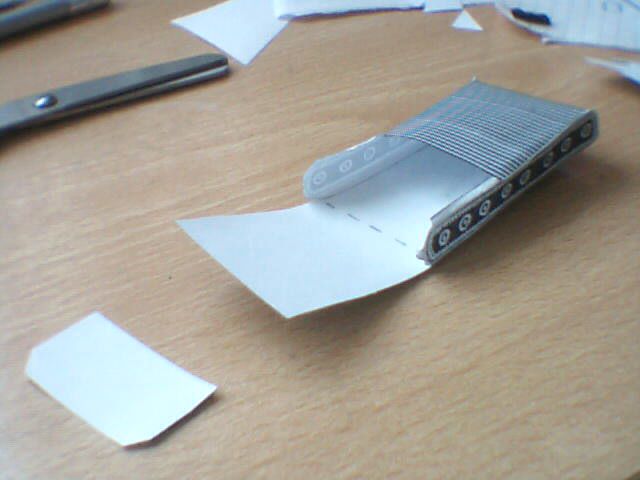
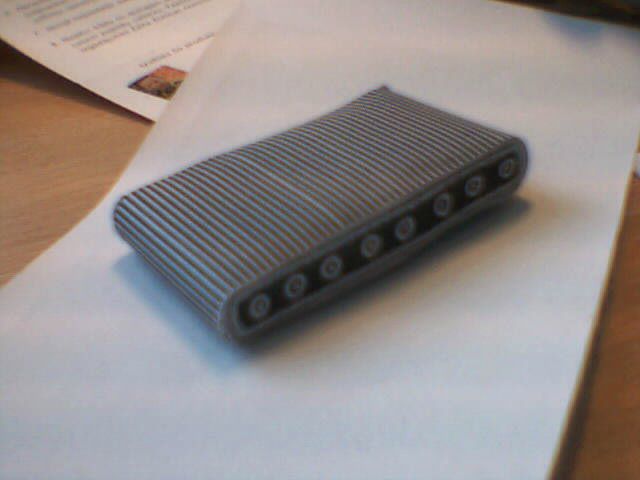
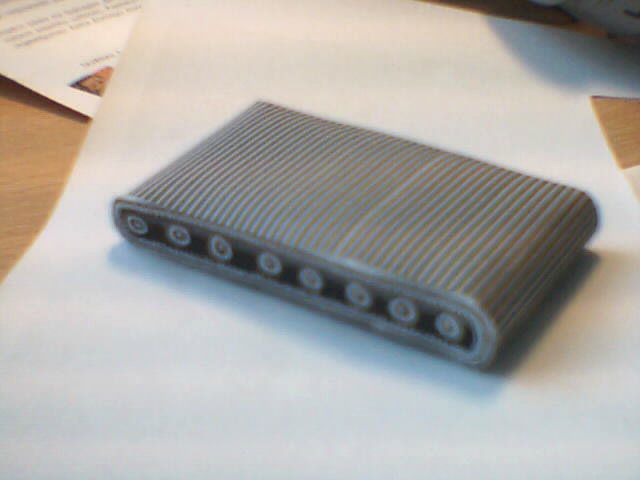
You should have something like this:
Step 4. Part 2 - Main Body
It consists only of one piece - part 2. Bend the sides 90 degree up ...
... and start connecting the tail. DON'T FORGET to bend it first too, or you'll get many troubles with glueing job.
When you finish it, it should look like this:
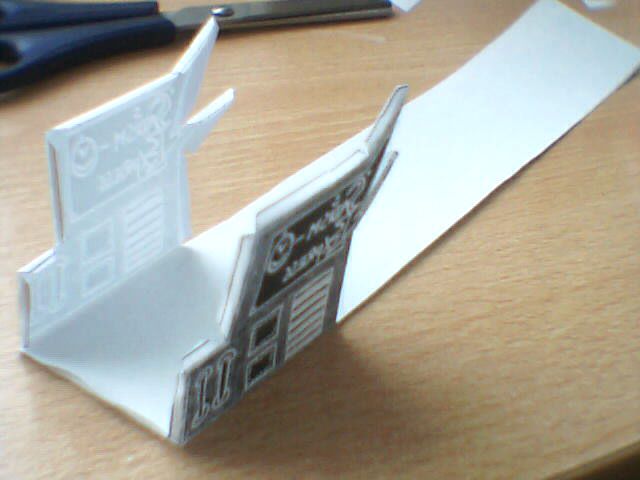
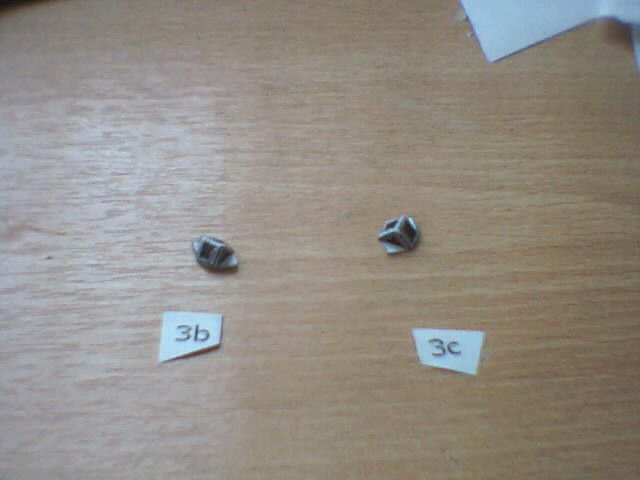
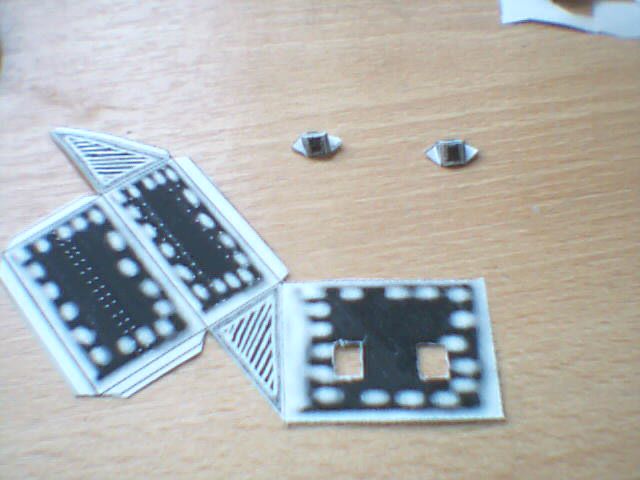
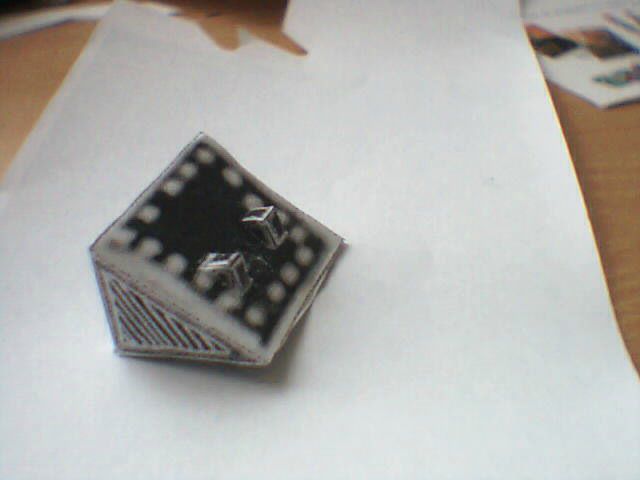
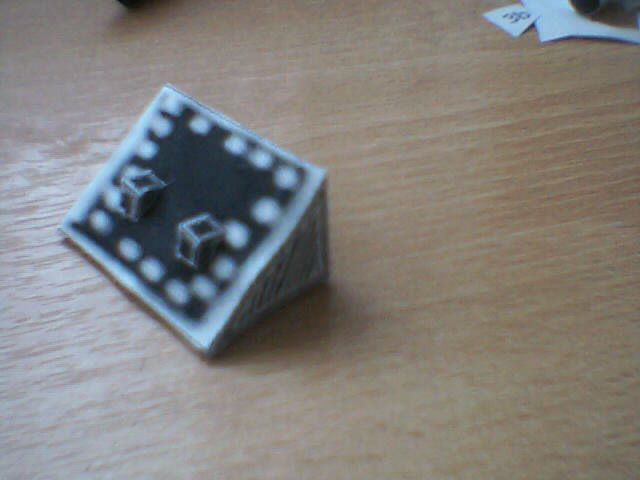
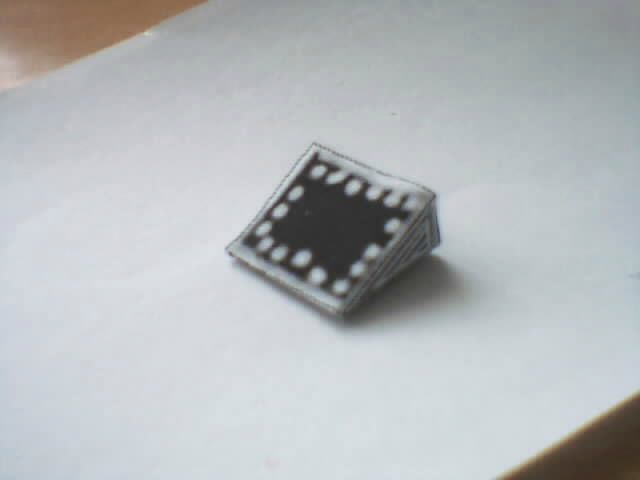
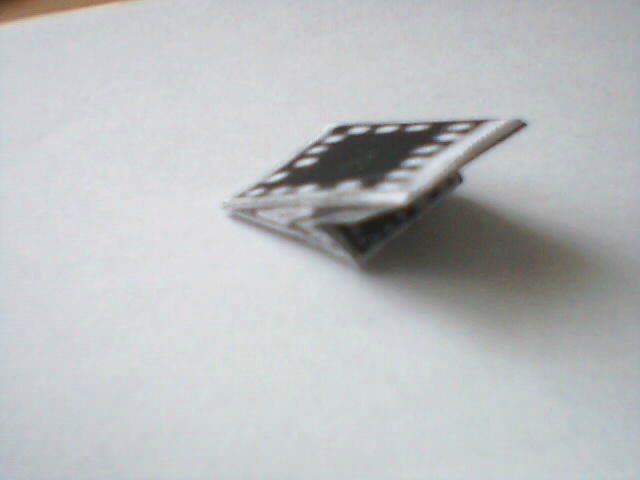
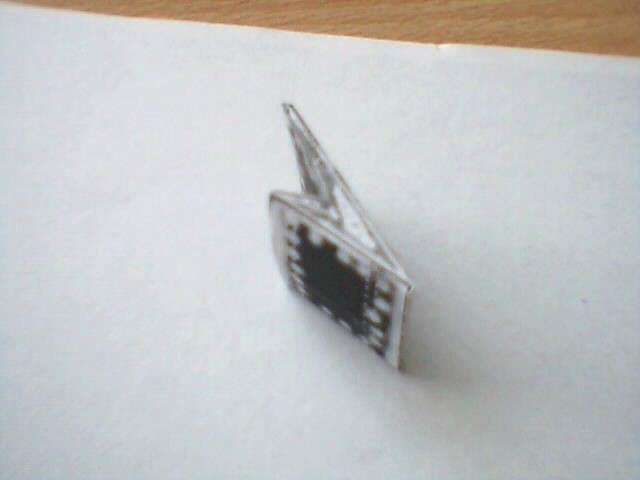
Step 5. Part 3 - Front Body
You'll need three parts - 3a, 3b, 3c.
First, make little half-cubes from parts 3b and 3c. Then bend white triangles. It'll look like this:
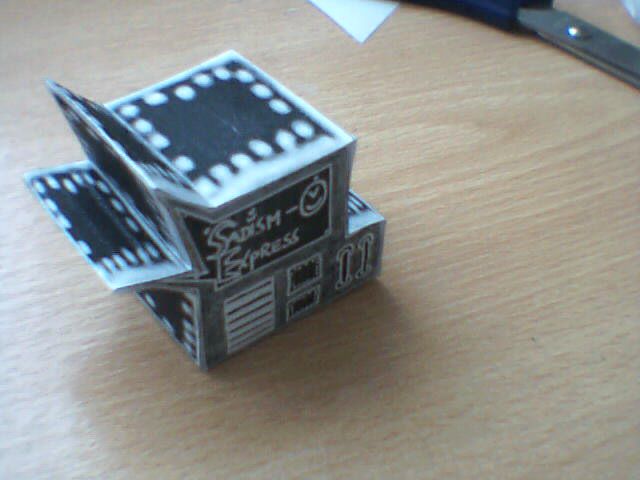
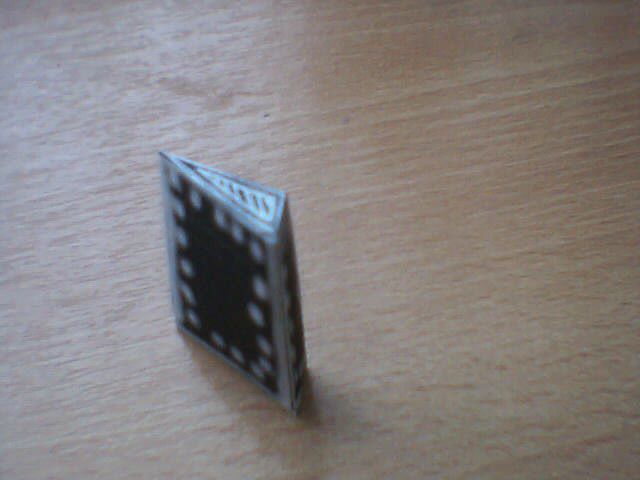
Cut out the white rectangles from part 3a ( and fire them using your matches MWAHAHAHA ). Put a little glue on parts 3b and 3c white triangles, and insert them into the opening you made in part 3a. Look, what you are gonna have:
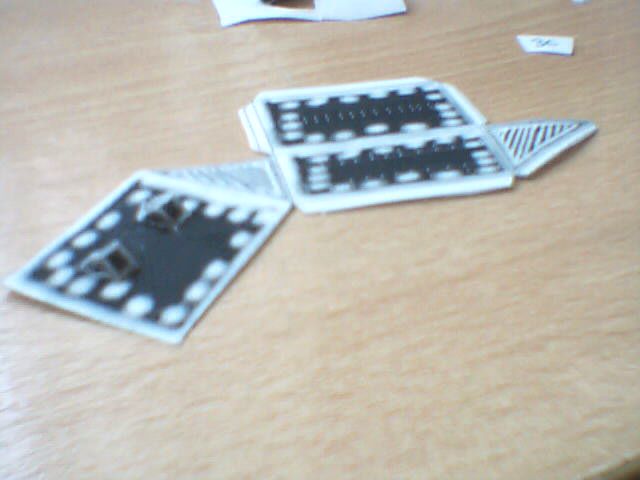
Now it'll be quite simple to glue the whole part 3 together. Just do it.
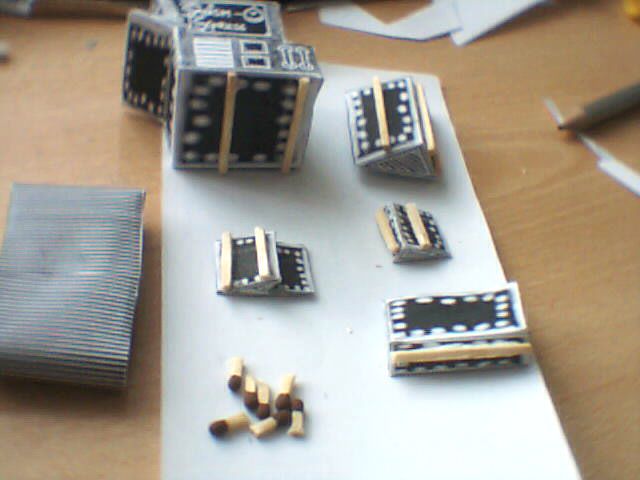
Step 6. Parts 4,5,6 - Front Panel and Spoilers
After you made first five steps, you'll easily glue all remaining parts. I'll show only the photos of the result:
Part 4.

Part 5.
Part 6.
Step 7. Connecting parts.
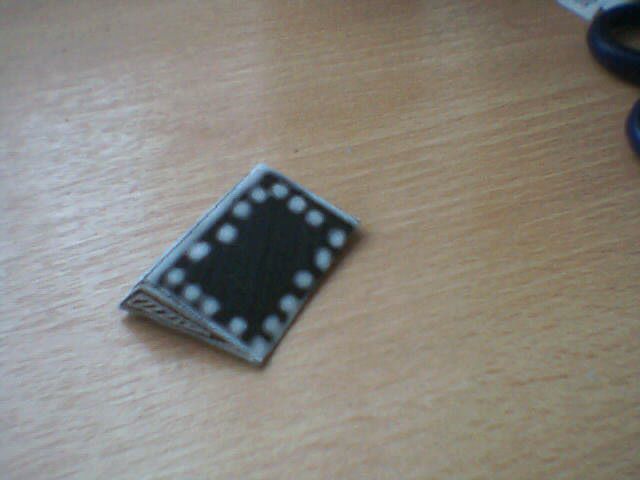
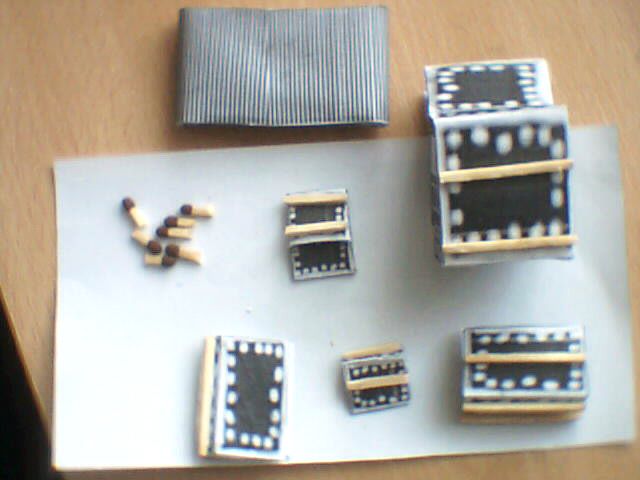
Great!!! Now you have all parts. Just one bit left - connecting them all. Check your parts:
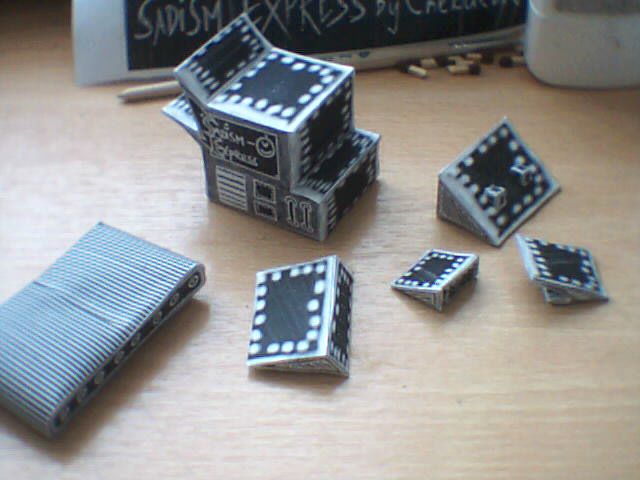

(If one of them is missing, punch your cat or dog or anybody else who could possibly eat one of them and start again from step 1.)
Look at the original Sadism Express from Half-Quake Amen:
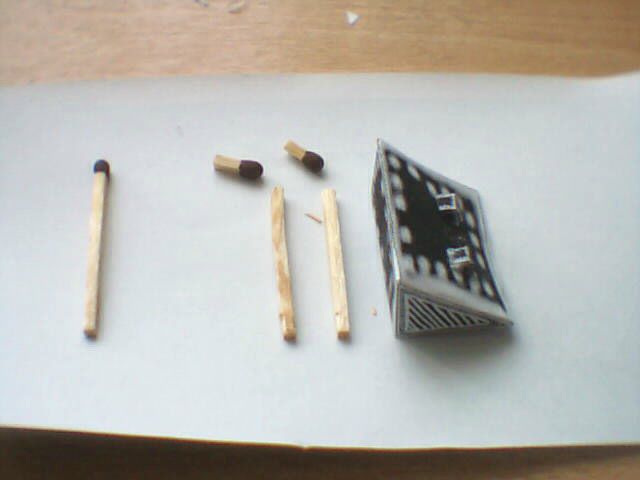
Shapes are connected with some kind of sticks, and for better reality we need to copy them somehow. And the result is ... matches! Yes, they are perfect for a model made from an A4 printing.
And now about paper size again: if you made your Sadism Express from A3 printing, simple matches will be too small for your model. You'll need other square-shaped sticks.
So, we'll connect parts with matches. The best way is to paint them before, as I did. You should too, because your S.E. will look much prettier if you paint them (compare yourself):
I 'll show match connecting process with not coloured matches, because of better visibility. You should make the same with coloured matches.
Cut matches to fit out S.E. and glue on every piece separately first:
And when we're done we get this:
And, the last step: Glue them to hell!!!
First, take parts 2 and 3 and glue them together. I recommend you turn some cool music on, because while glueing in progress, you'll hold the model in hands, which is boooring. So, ya have this now:
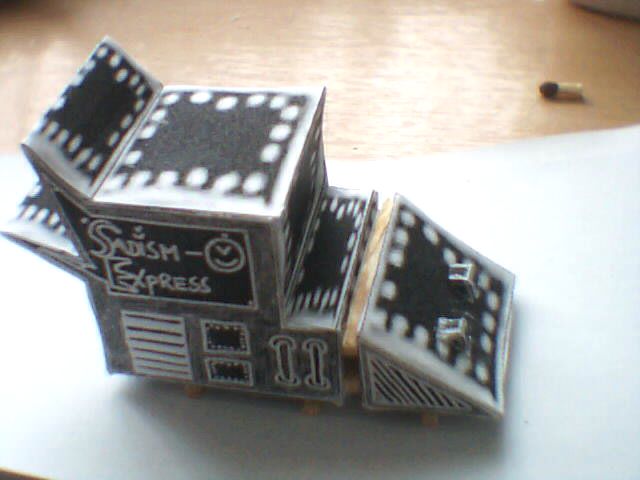
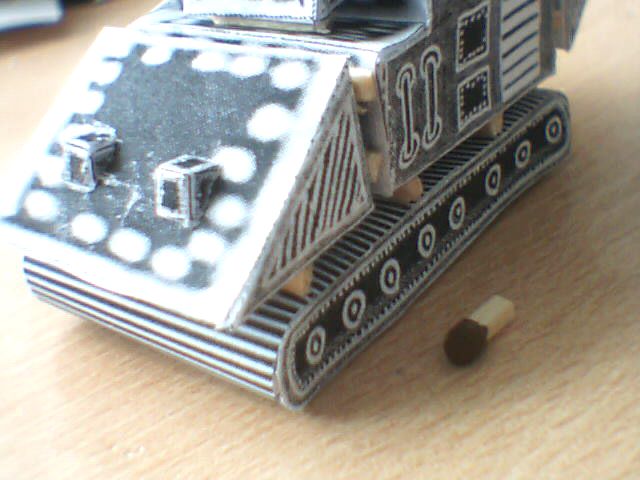
Time to attach some chain tracks. Change music and continue.
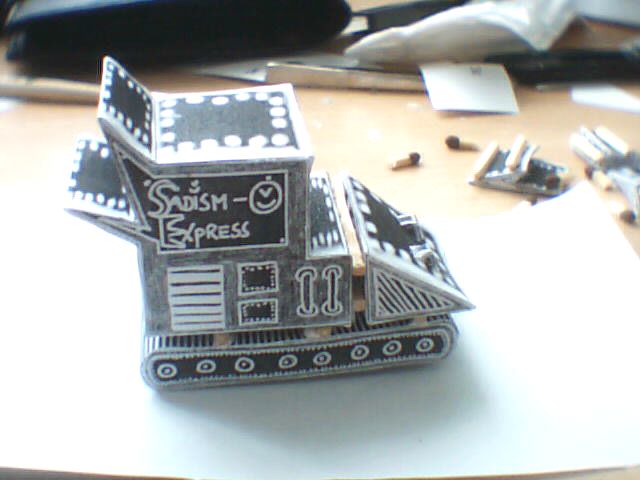
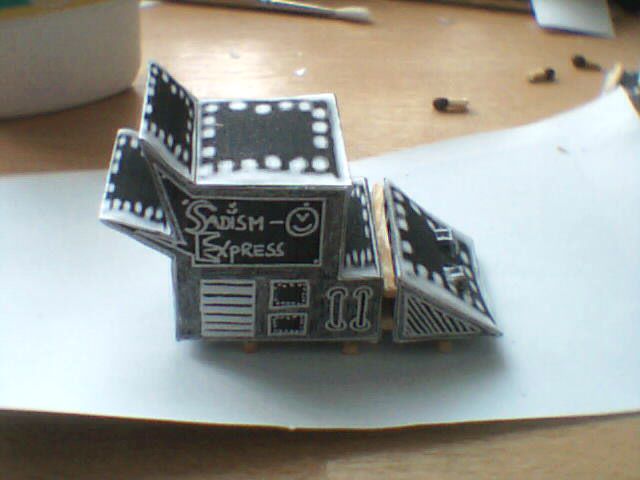
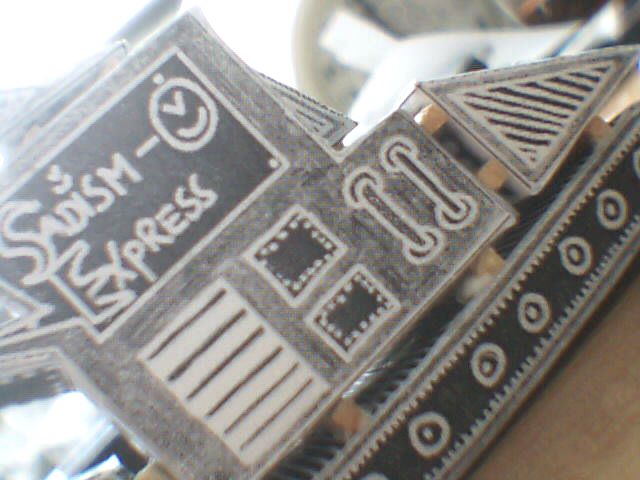
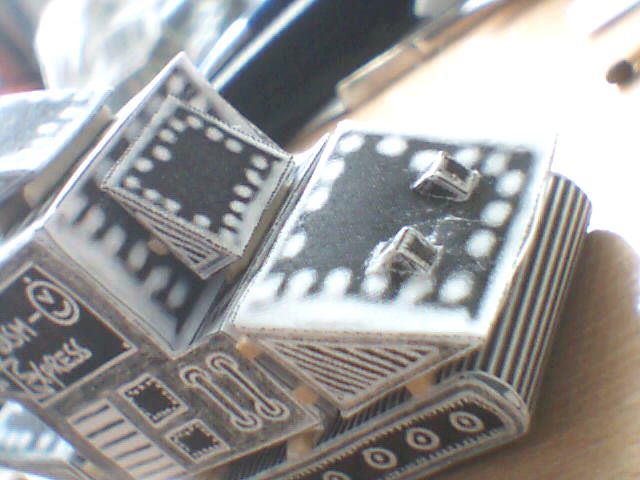
And, finally, add some stuff like spoilers and front panel.
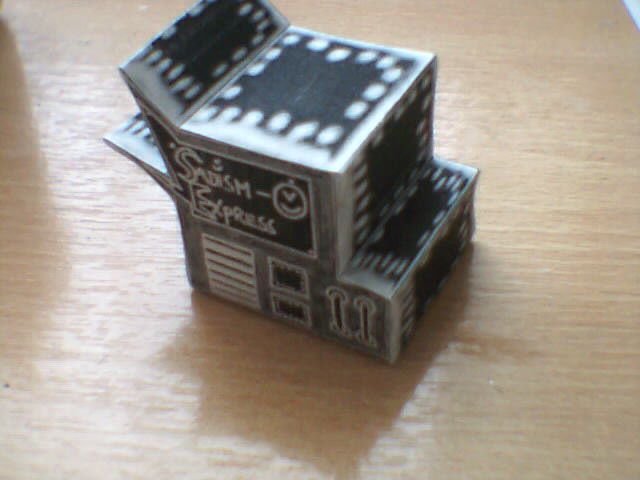
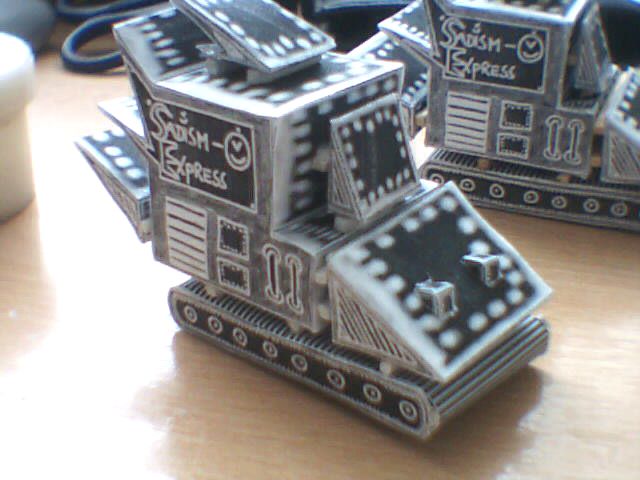
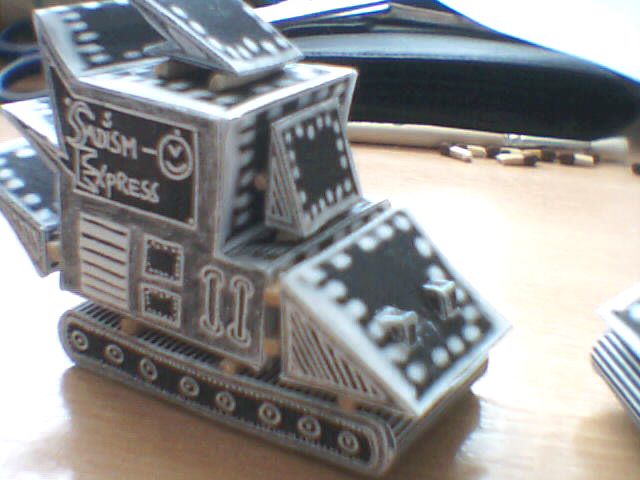
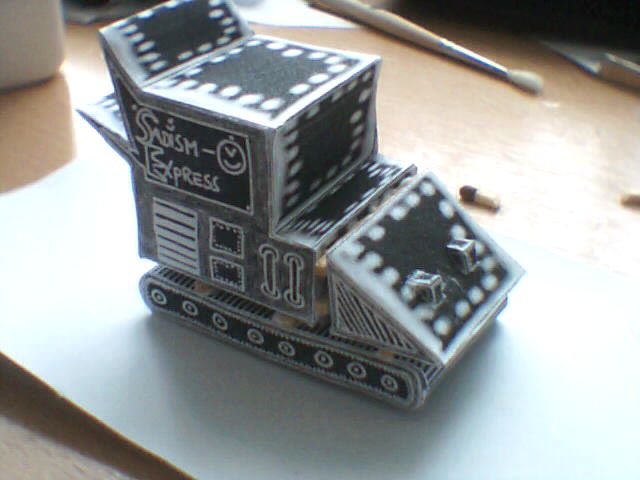
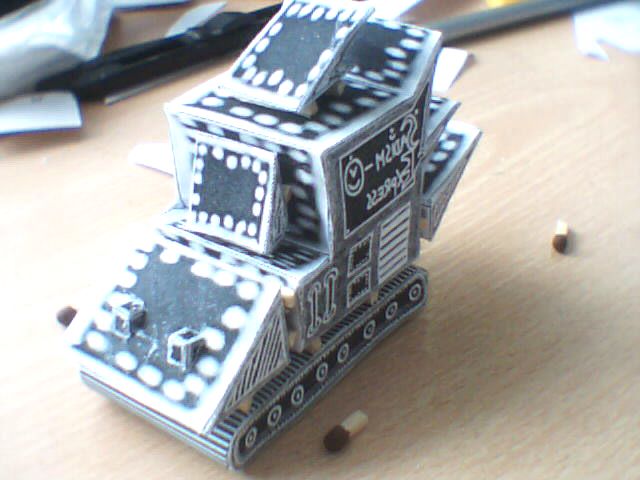
Yay, ya did it man!!!
You can make some paper victims to kill... Don't forget to read this before making paper victims!!!
(It's the only moment you can use your sadistic face, which I meant in the "You'll need" chapter. Don't miss this chance!)
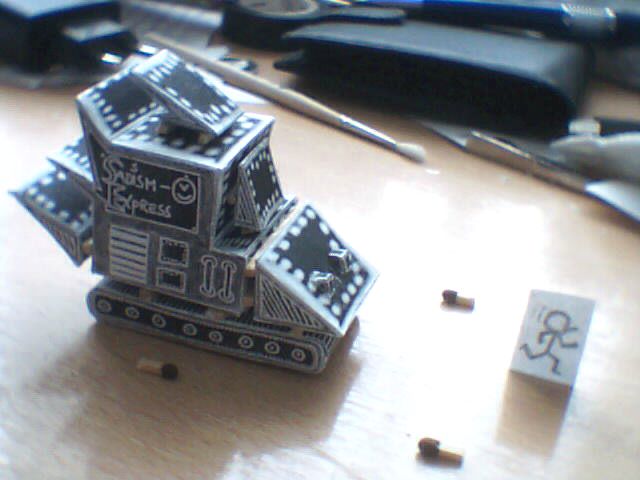
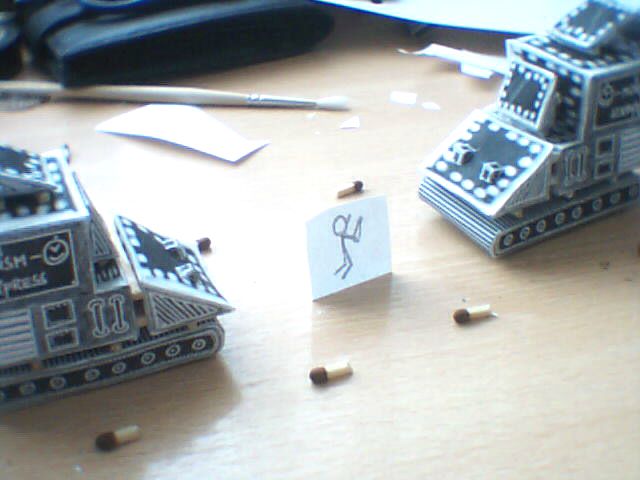
... Or just enjoy your new Sadism Express.
Thanks for reading and maybe making.
Chekaloff.
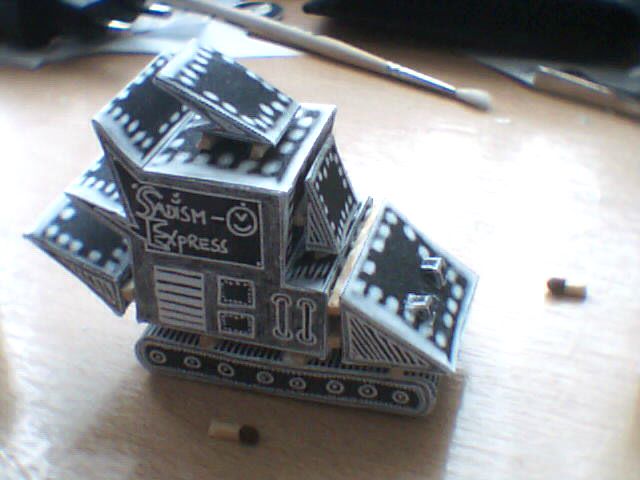
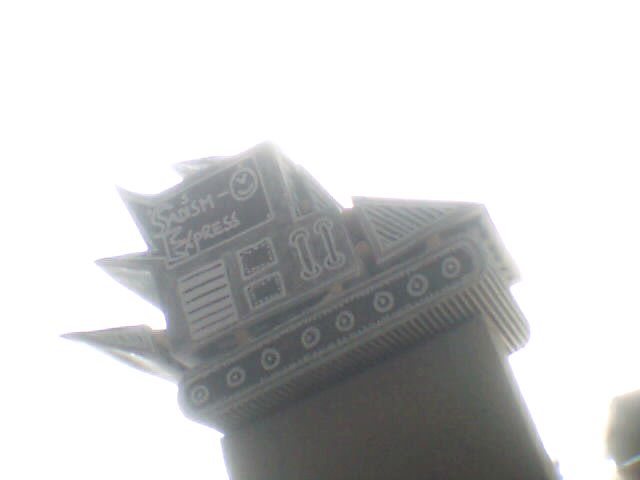
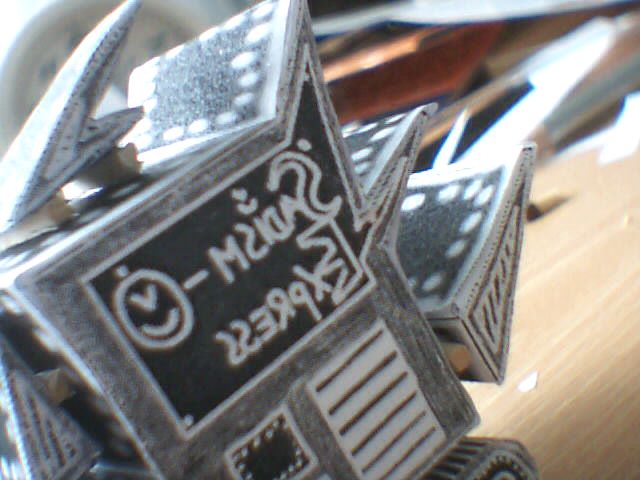
And here are some photos like in a TV show about cool cars:

Thanks to all Half-Quake developers, whose S.E. textures I used.
Thanks to my city's match factory, who provided me with some matches.
Thanks to Logitech, whose webcam was used to film this tutorial.
Thanks to Hewlet Packards, who made my printer.
© Chekaloff